AutoTax Documentation
Set up AutoTax, calculate sales tax, and manage exemptions in Odoo.
Odoo screenshots use Odoo 18 demo data.
Getting started
You need Odoo 15–19 on Odoo.sh or a self-hosted installation, plus permission to install apps and change settings. Odoo Online does not support this custom module.
- Install the module. Get AutoTax from the Odoo App Store, choosing the version that matches your database. Ask your Odoo administrator to install it.
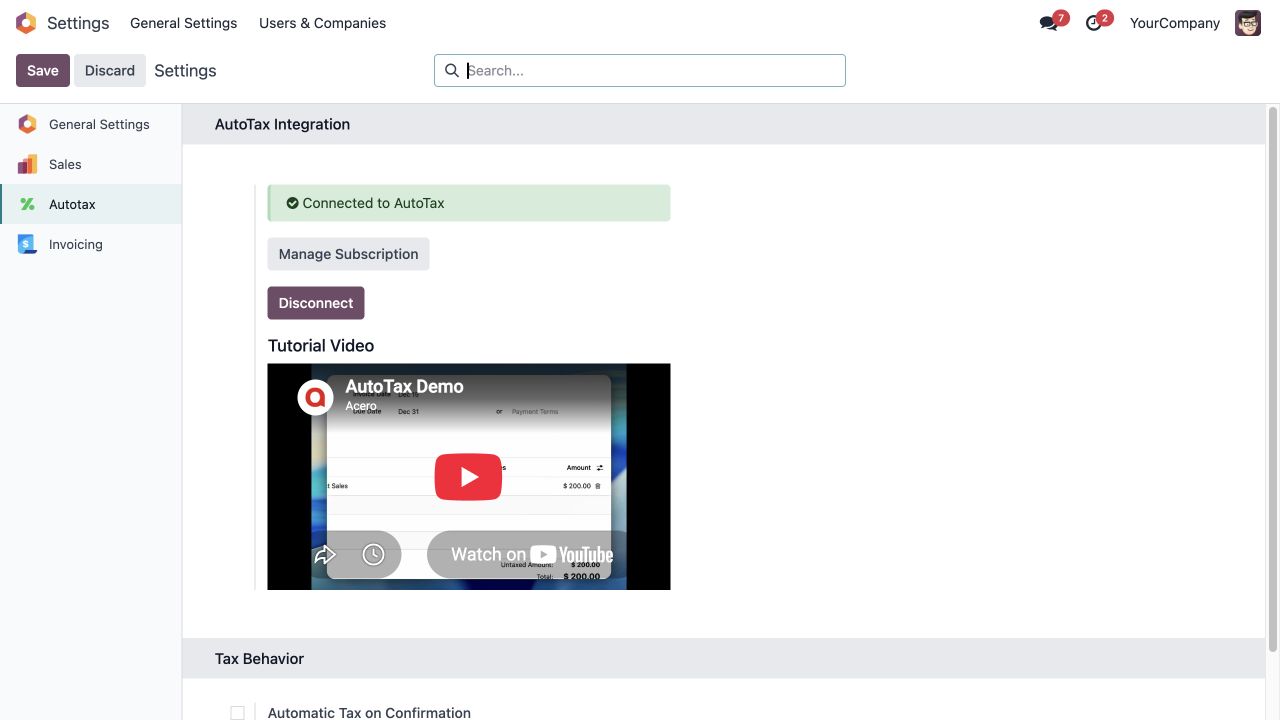
- Connect your account. In Odoo, open Settings → Autotax and select Connect to AutoTax. Complete the account connection prompts.
- Check the connection. Return to settings. You should see Connected to AutoTax.
Before posting invoices
Have your accounting administrator review the company’s default sales tax, accounts, and reporting configuration. New AutoTax rates reuse the default sales tax’s accounting setup, with the calculated percentage.
Calculate taxes
- Open an unlocked quotation or sales order, or a draft customer invoice.
- Check the customer’s shipping address: street, city, state, ZIP code, and country. Add your products and quantities.
- Select Compute Taxes. Review the tax on each line and the updated total before confirming or posting.
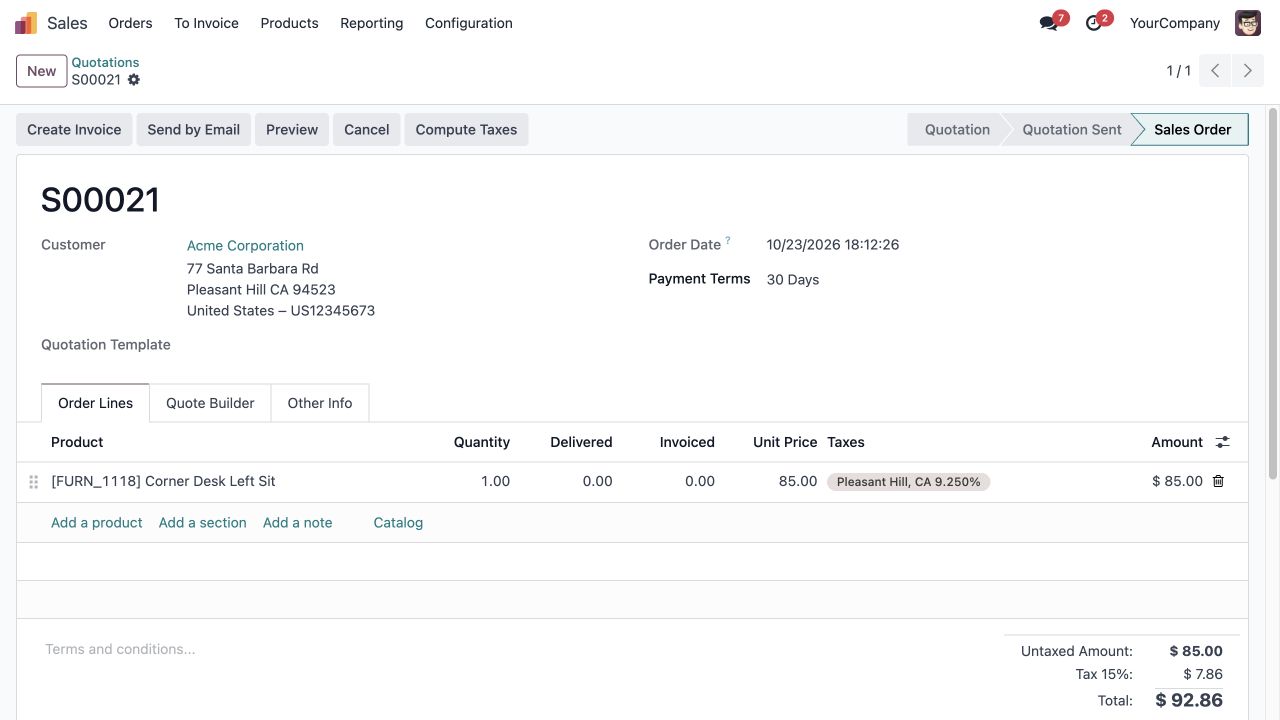
To calculate tax when you confirm a quotation, enable Automatic Tax on Confirmation in AutoTax settings and save. For a manual workflow, leave it off and use Compute Taxes.
When you are ready to invoice an order, select Create Invoice, follow Odoo’s invoicing steps, and review the draft before posting.
Tax exemptions
Use AutoTax Exempt for customers or products that should not receive an AutoTax-generated tax. Set the exemption before calculating, then recompute any existing draft documents you want to update.
Exempt a customer
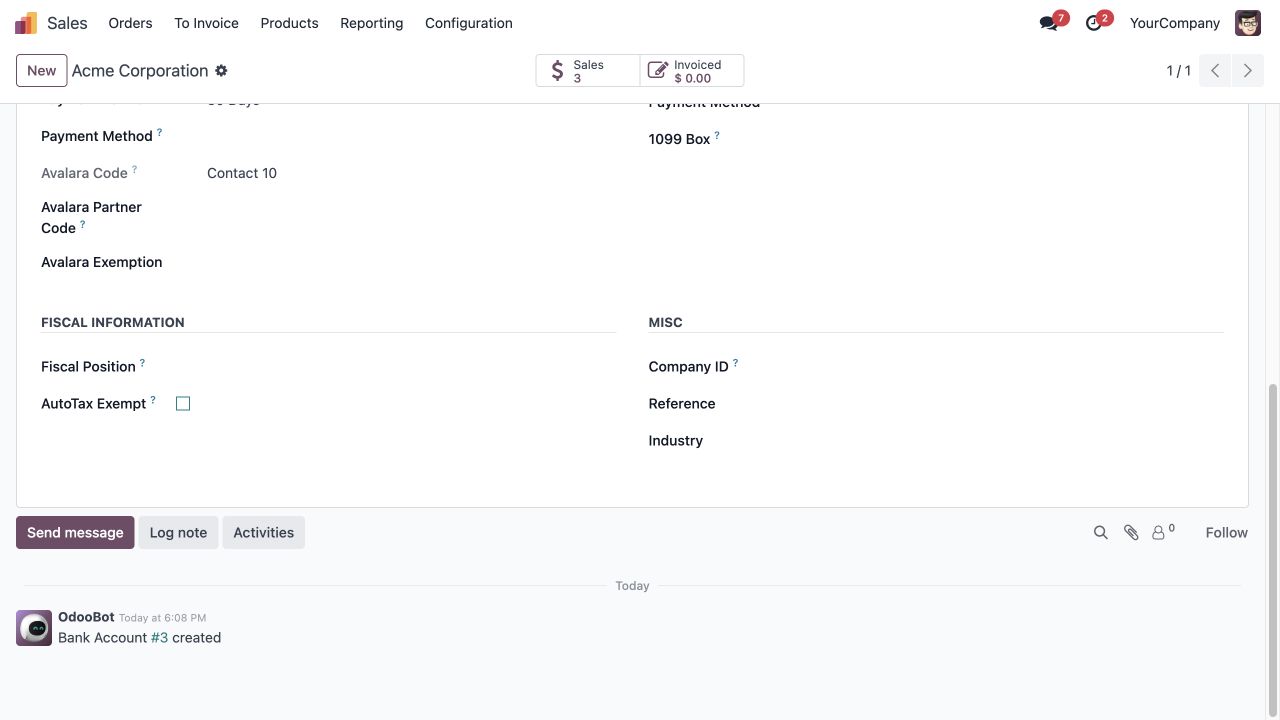
Open the customer, select Sales & Purchase, and find Fiscal Information. Enable AutoTax Exempt and save. This applies to the commercial customer and its contacts and delivery addresses, within the current Odoo company.
Exempt a product or category
On a product, enable AutoTax Exempt beside its customer tax configuration. On a product category, enable the same field to cover every product in that category and its subcategories. An unchecked product still inherits an exempt category.
Keep existing Odoo tax rules in mind
Exemptions remove AutoTax-generated taxes; other manually configured taxes can remain. A matching fiscal position tax mapping takes precedence over product and category exemptions. An empty Taxes field by itself does not make a product exempt.
View your usage
- In Odoo, open Settings → Autotax.
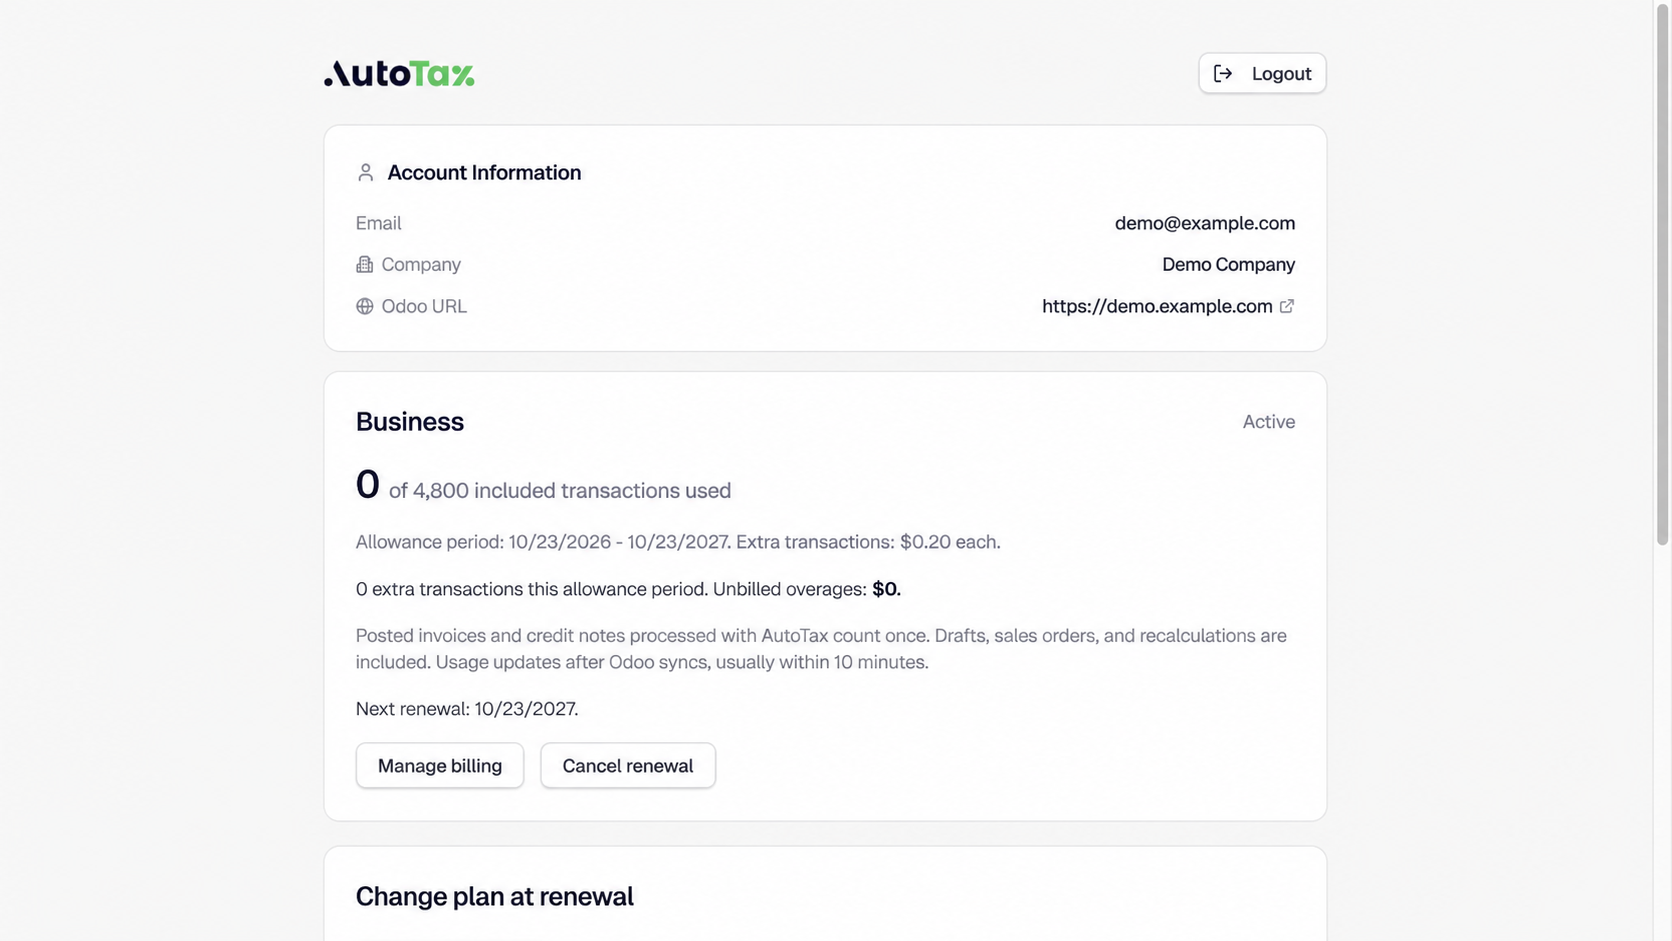
- Select Manage Subscription to open your AutoTax dashboard.
- View your current usage on the dashboard.